Our Blog
Tips, tricks, and guides on image optimization and web performance.
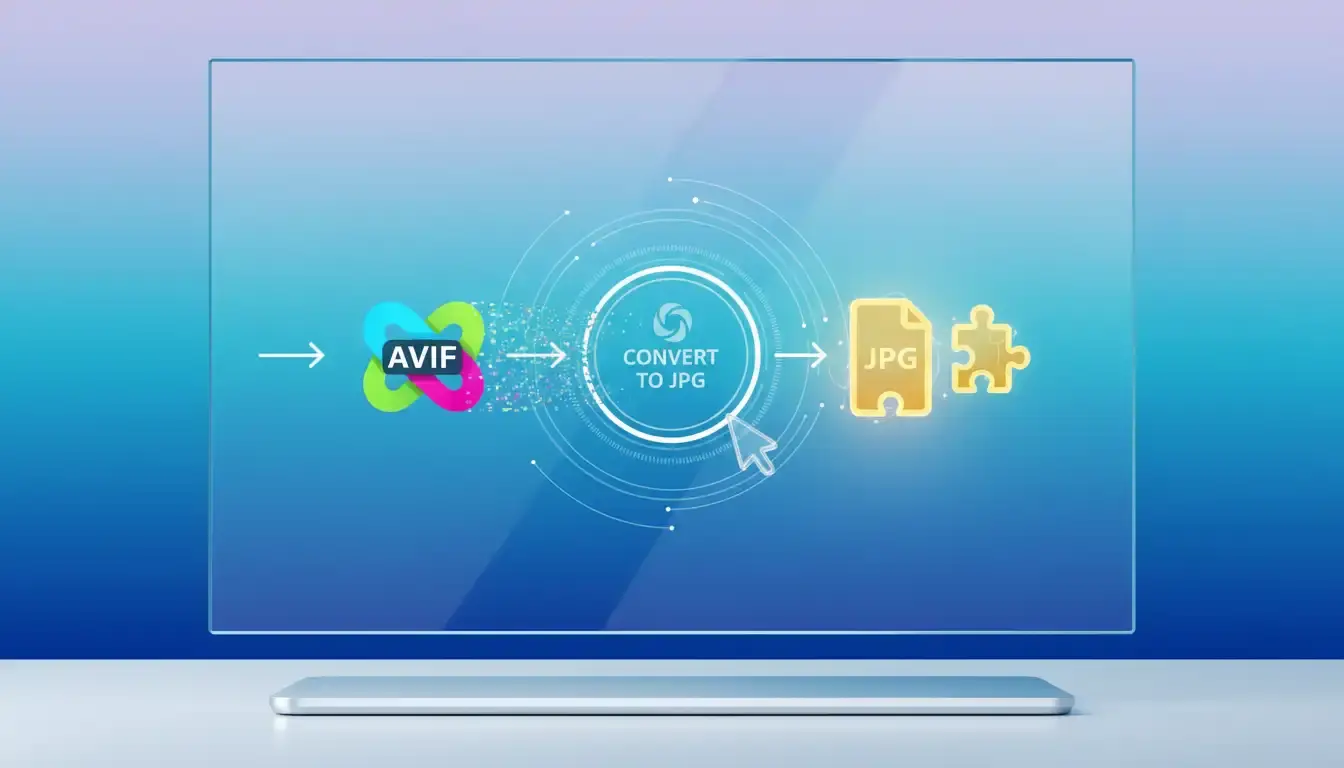
AVIF to JPG: A Quick and Easy Conversion Guide
Need to convert AVIF to JPG? Our quick and easy tutorial walks you through the process, so you can use your AVIF images anywhere.

Responsive Web Design: Flexible Images Tips
Make your website's images responsive and adaptable. Our how-to guide covers best practices for optimizing flexible images for all screen sizes.

Protect Yourself: Understanding the Instagram Password Reset Attack
Safeguard your online presence from the Instagram Password Reset Attack. Learn key steps to secure your account against cyber threats.

Discover the Art of Digital Creation: What is Digital Art?
Unlock the art of digital creation and learn what is digital art. Explore the tools and techniques to bring your artistic vision to life in the digital realm.
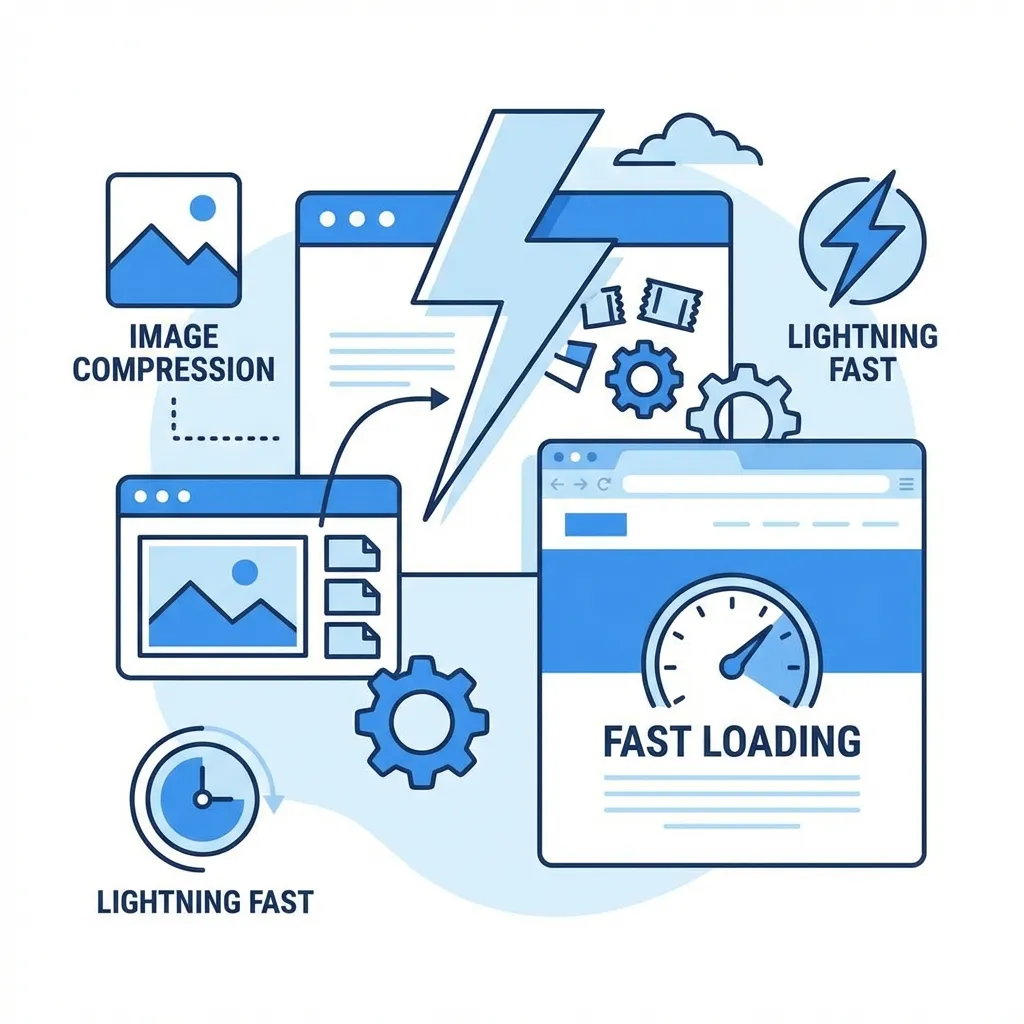
Why is it important to use compressed images for a web page
Discover why compressed images are crucial for your website's speed, user experience, and SEO rankings to boost performance and engagement.
The Ultimate Guide to Image Optimization for SEO Success
Learn the steps to achieve SEO success through effective image optimization. Discover how to optimize your images for better search engine rankings.

AI Image Upscaling: The Secret to High-Resolution Graphics in 2026
Discover how AI upscaling is revolutionizing image resolution. Learn how neural networks can turn pixelated photos into crystal-clear masterpieces.

Beyond the Pencil: How Generative AI is Redefining Digital Art
Explore the intersection of human creativity and machine intelligence. Discover how generative AI is transforming the landscape of digital art and design.
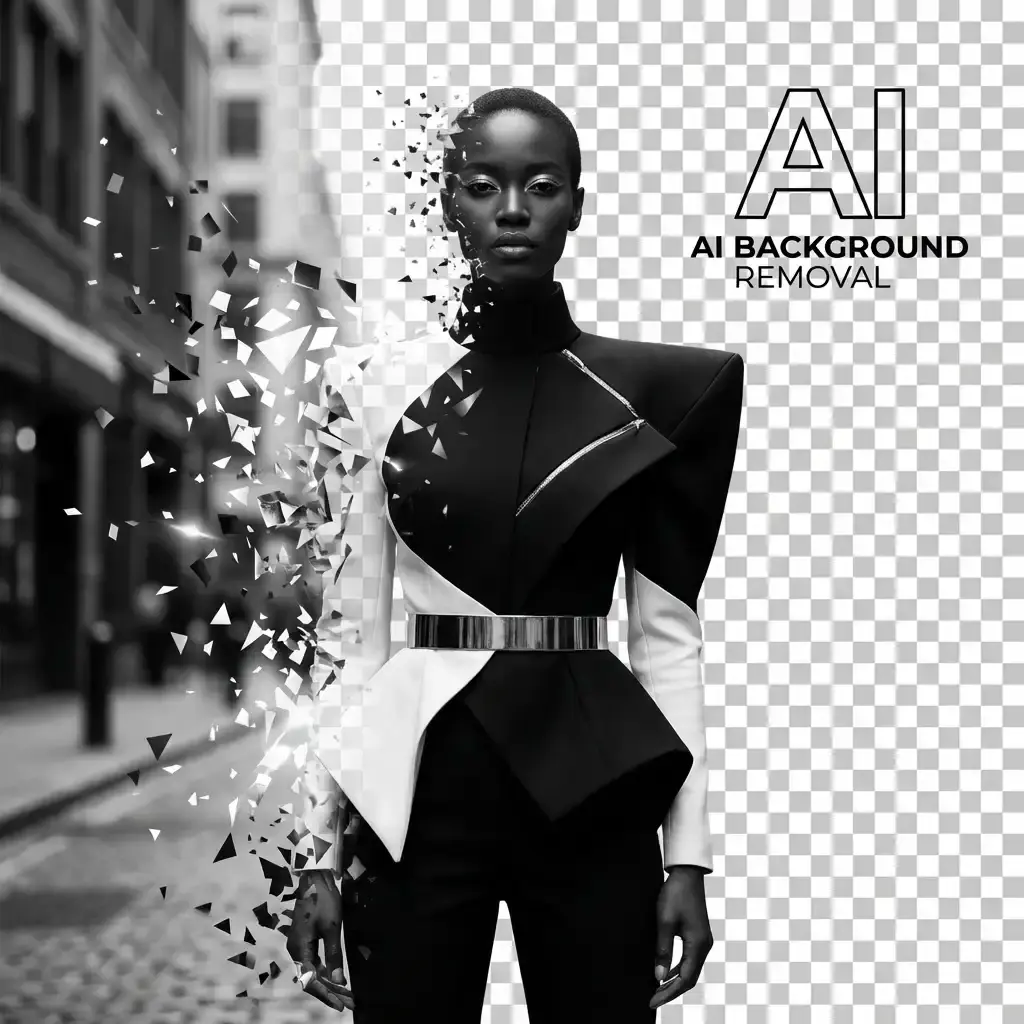
AI-Powered Background Removal: Saving Hours of Design Work
Stop wasting time with the pen tool. Learn how AI background removal is streamlining the design process for e-commerce and marketing.
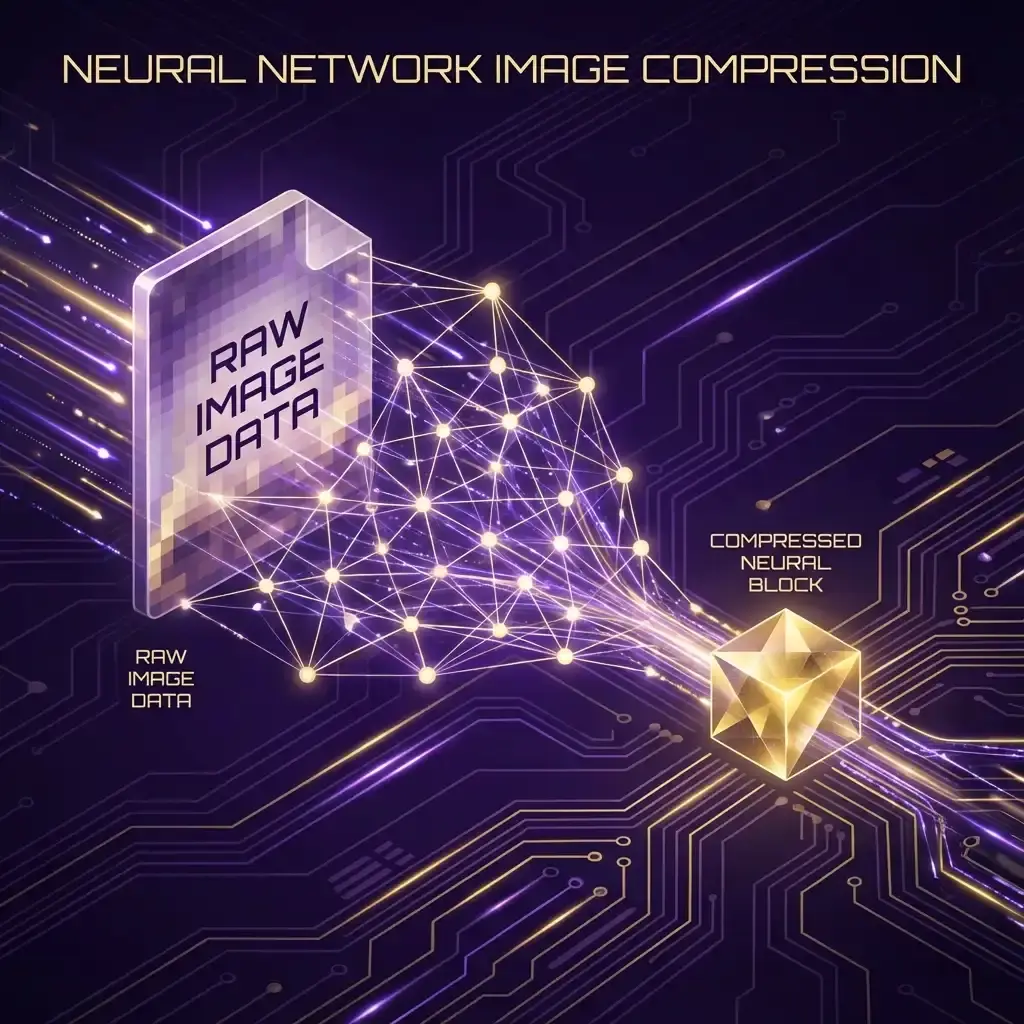
The Rise of AI Image Compression: Zero Quality Loss at Half the Size
Meet the next generation of image optimization. Learn how neural networks are outperforming JPG and PNG to make the web faster than ever.

Detecting AI-Generated Images: A Guide for Digital Content Creators
In a world of deepfakes, how do you know what's real? Learn the practical and technical signs that an image was created by AI.
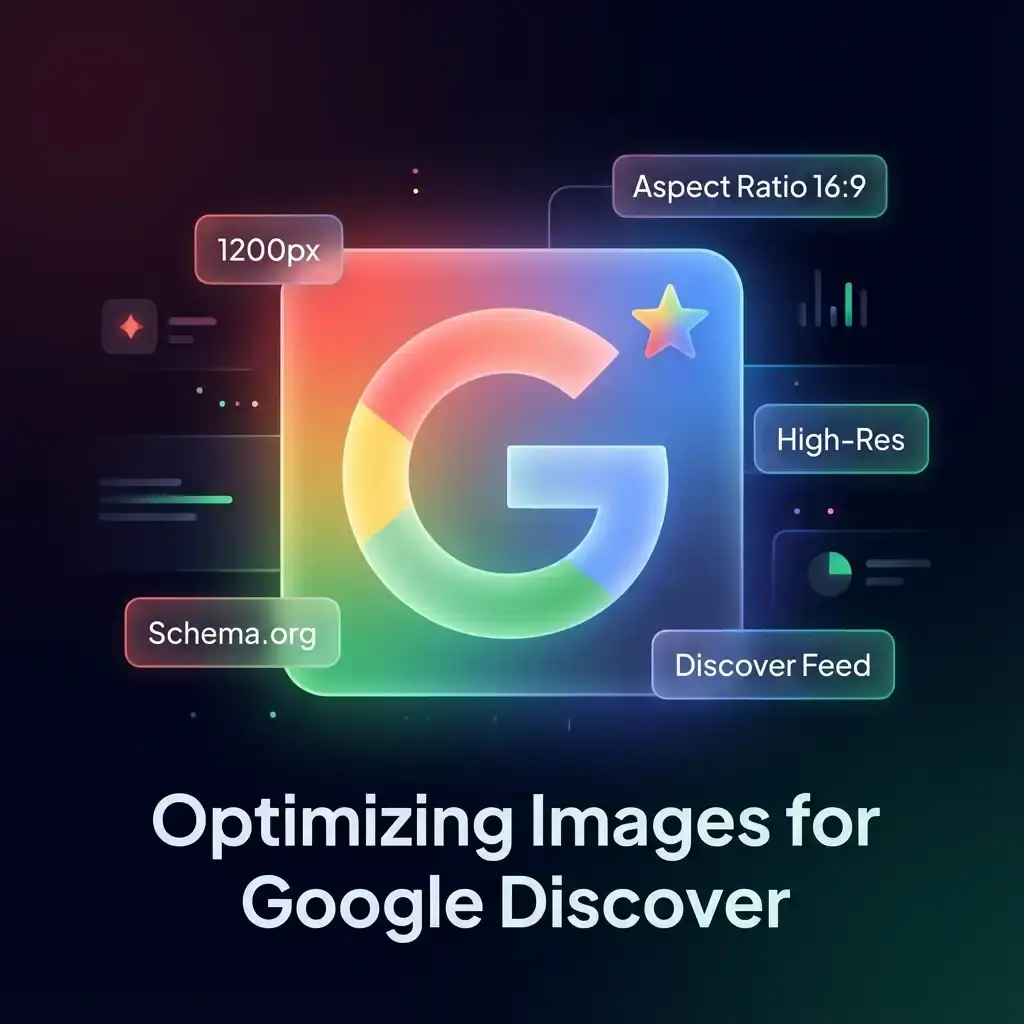
Optimizing Images for Google Discover: A Checklist for Maximum Visibility
Boost your website's traffic by getting featured on Google Discover. Use our comprehensive image SEO checklist to ensure your visuals meet Google's high standards.
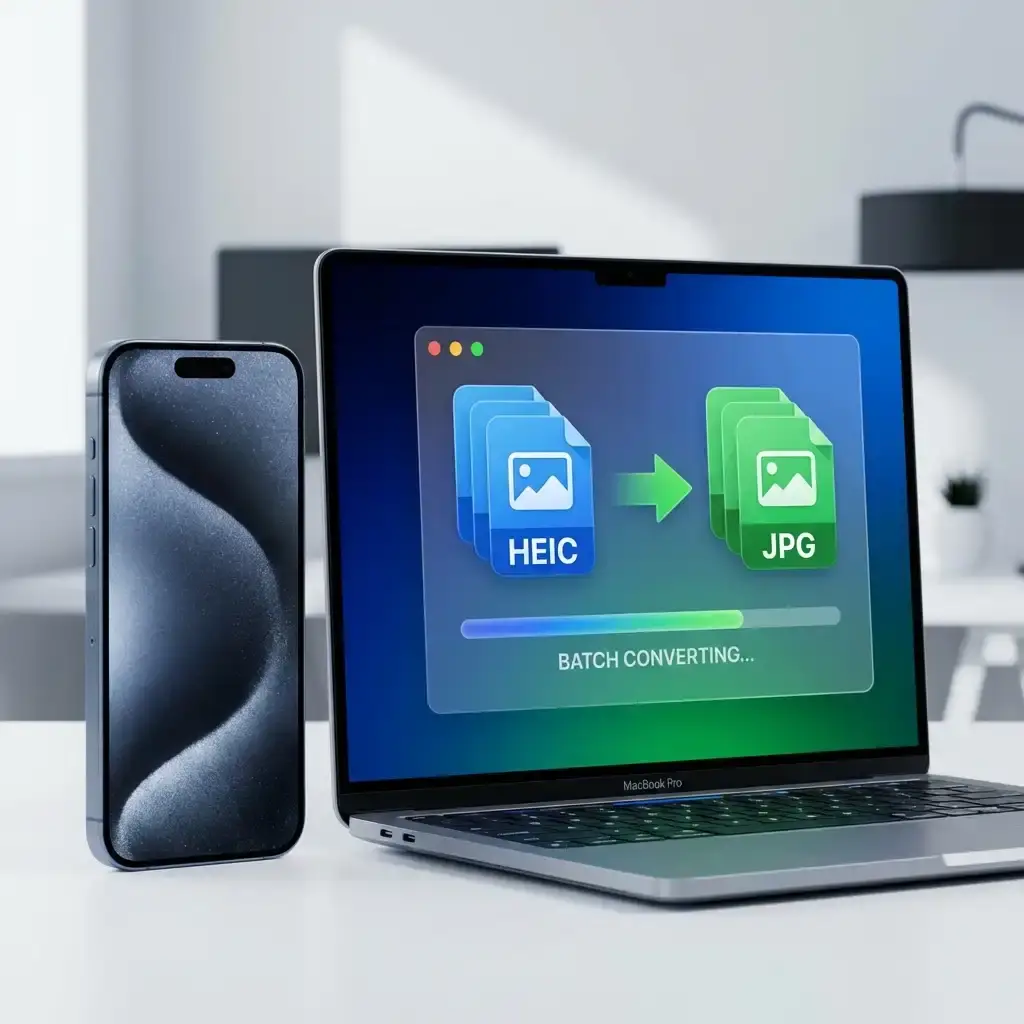
How to Batch Convert HEIC to JPG: A Guide for iPhone Users
Learn how to effortlessly batch convert HEIC photos to JPG format on your iPhone or PC. Follow our step-by-step guide to ensure your photos are compatible with every device.

Cybersecurity Essentials: Stay Safe Online with These Tips
Protect your digital life with our cybersecurity essentials. Discover actionable tips that fortify your online security and privacy.

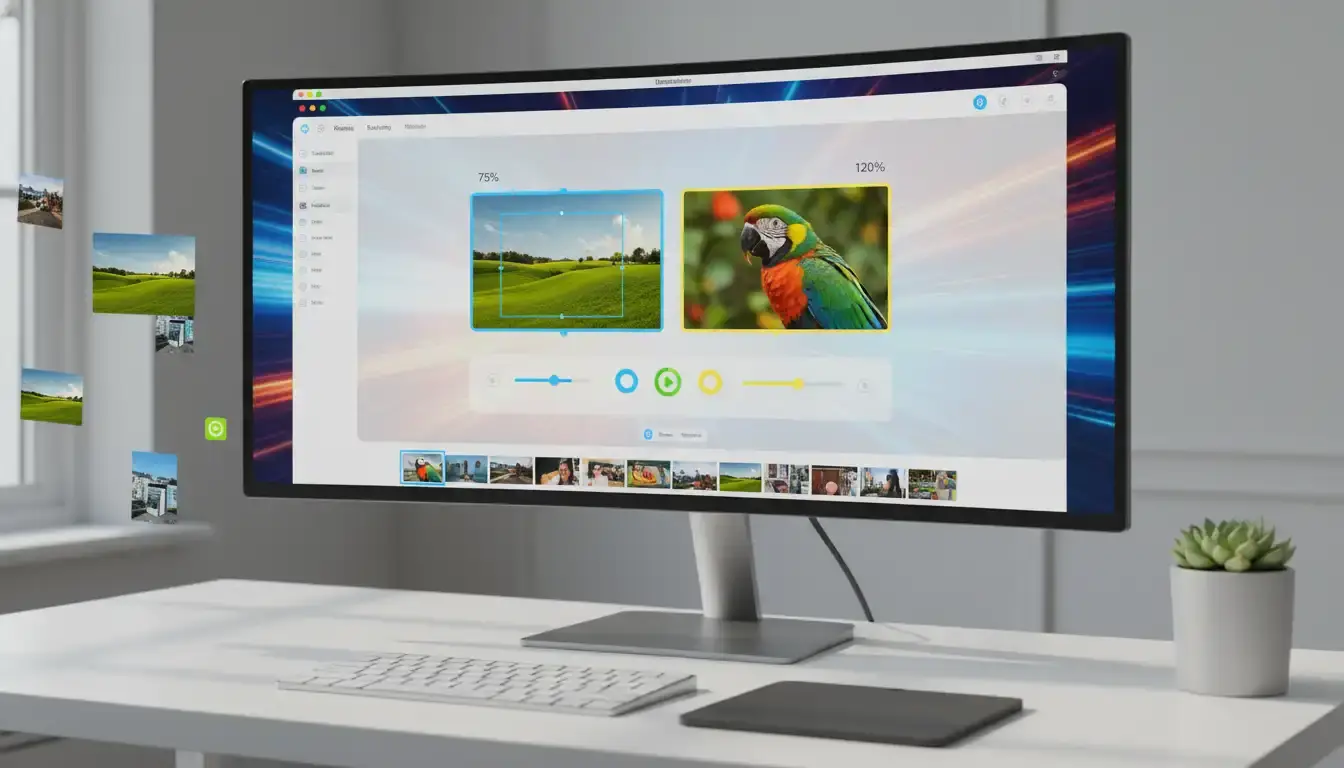
Effortlessly Stretch and Resize Images with Our Image Stretcher
Learn how to effortlessly stretch and resize images using our image stretcher. Follow our step-by-step guide to achieve perfect image proportions.

Portable Network Graphics (PNG) Files: What You Need to Know
Learn about Portable Network Graphics (PNG), a popular raster graphics file format, its uses, and benefits in digital design and web development today.
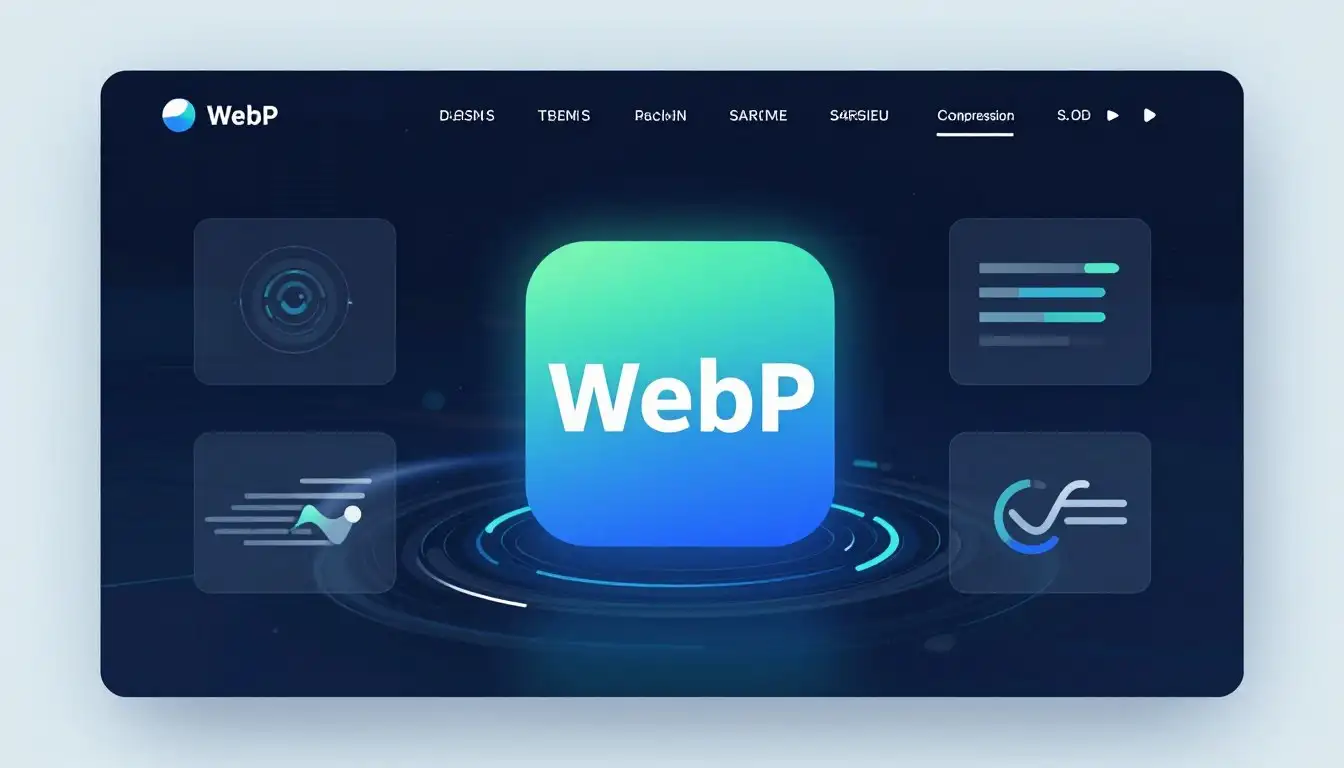
WebP: The Lowdown on This Innovative Image Format
Discover the power of WebP, the innovative image format that can improve your website's performance. Learn what WebP is and how it can benefit your online presence.
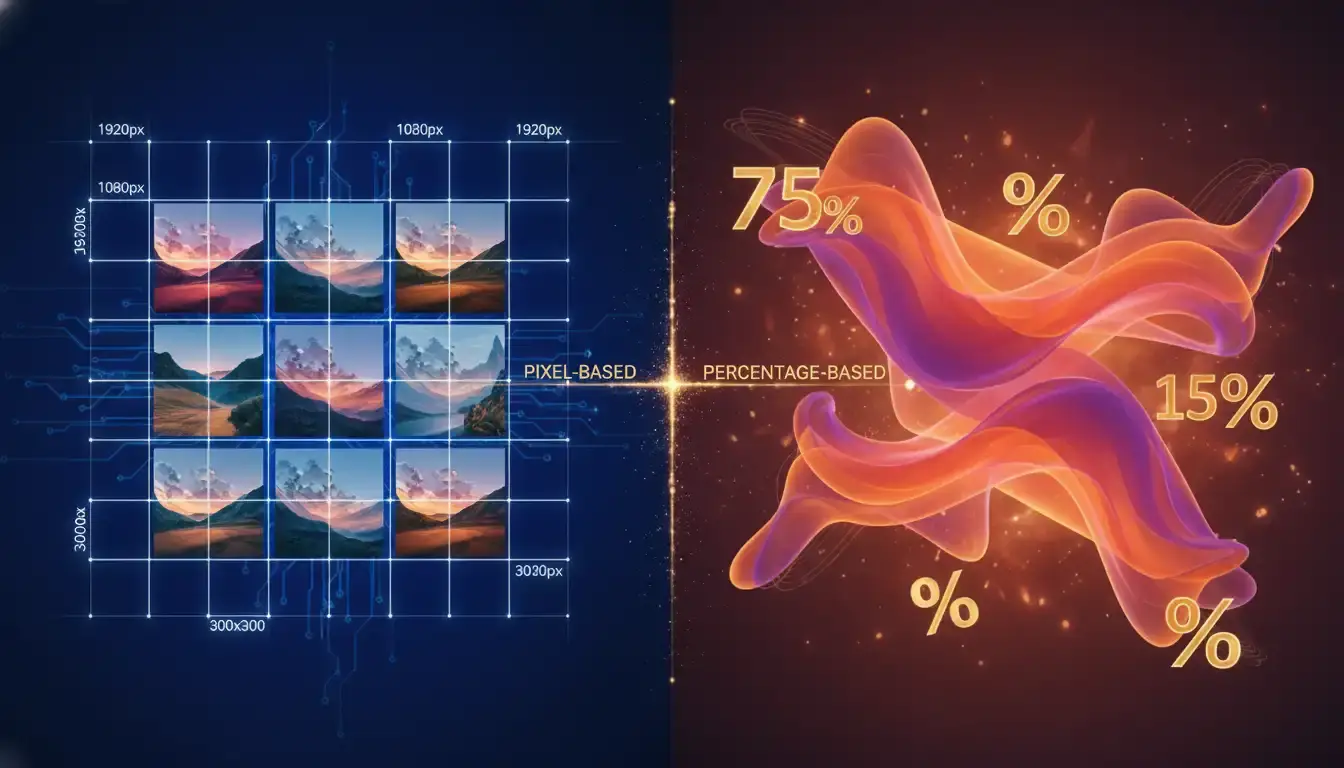
Resize Image Techniques: Pixels vs Percentage
Discover the best techniques for resizing images on your website. Learn how to use pixels vs. percentage for optimal image quality and responsiveness.
Free Image Size Converter: Resize Your Photos in Seconds
Convert image sizes with our free online image size converter. Simple, fast, and accessible from anywhere.
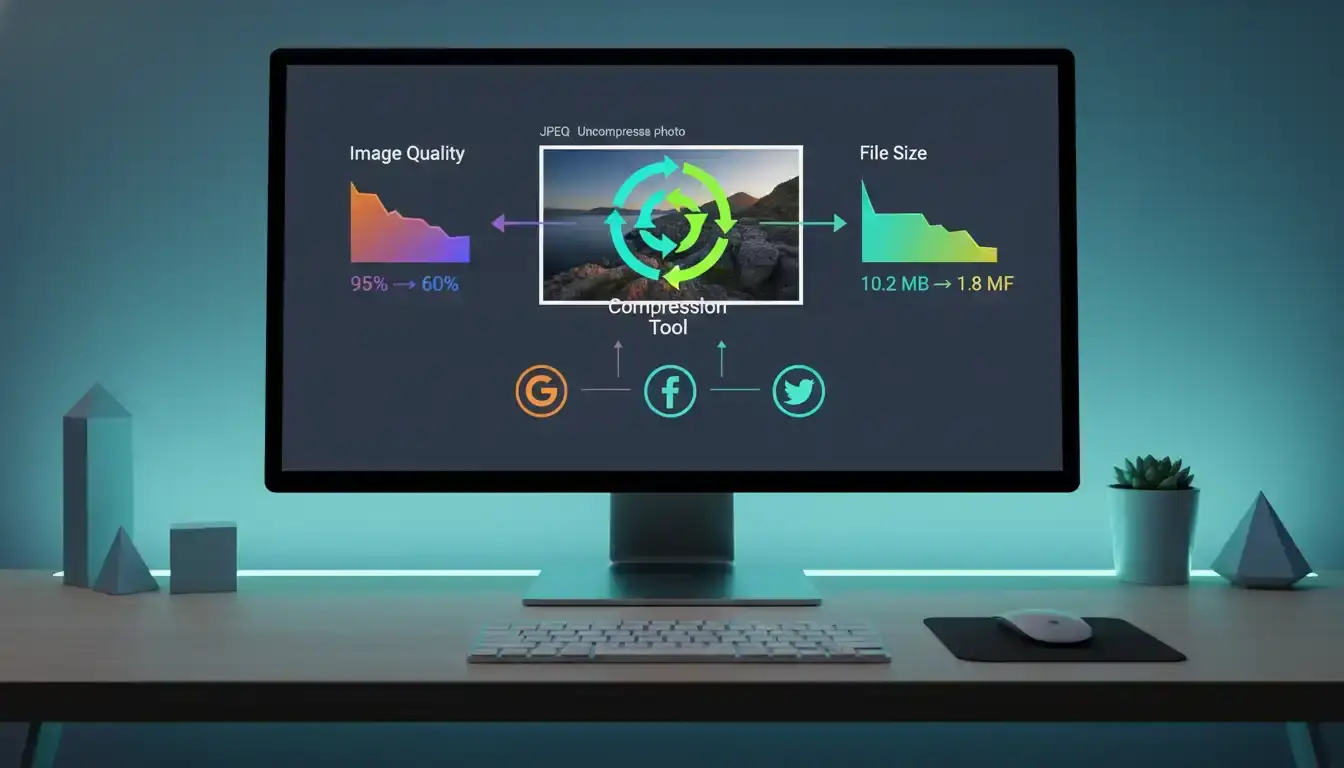
Easily Reduce JPEG File Size: Simple Techniques to Downsize Images
Discover easy ways on how to make a JPEG smaller. Optimize your images for web use and improve page load times.
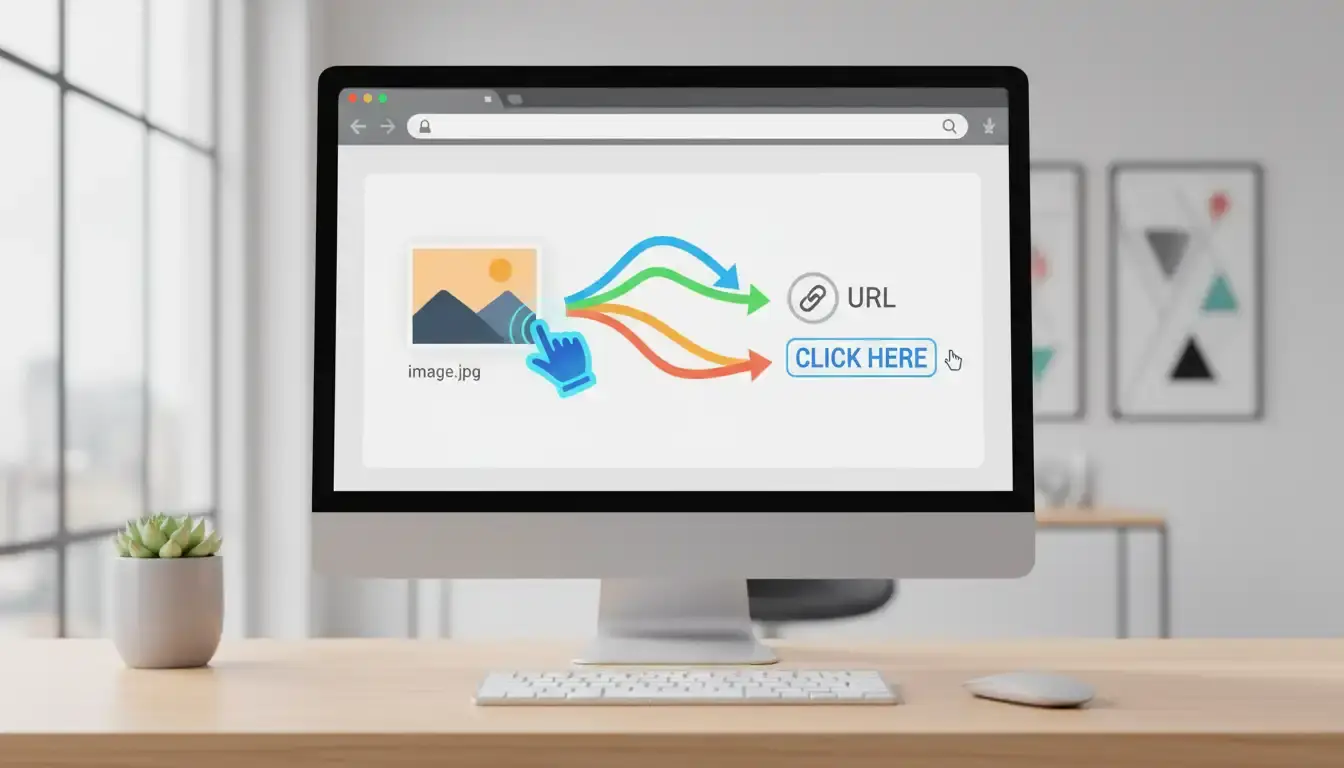
How to Turn an Image File into a Clickable Link
Learn how to turn a image file into a link with our step-by-step guide. Discover the simple process to make your images clickable.

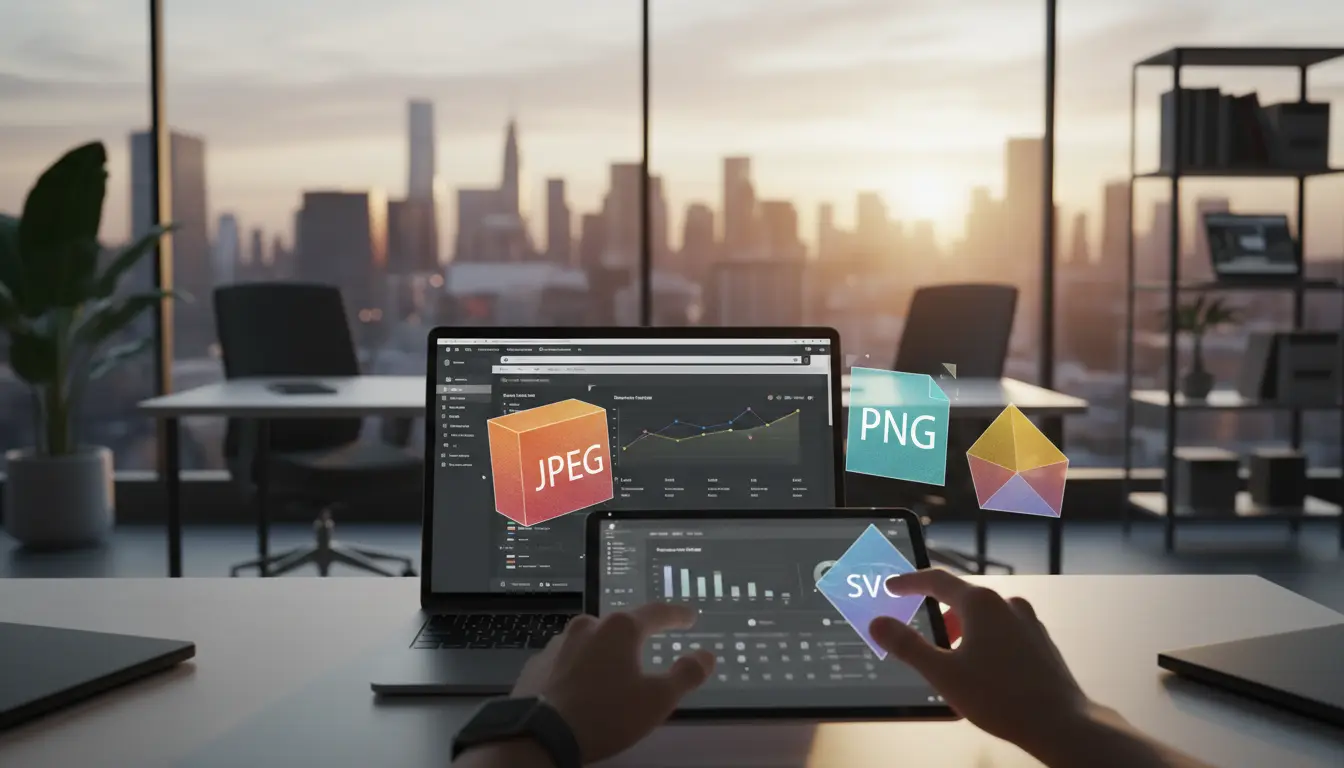
Explore the Top Image Types to Enhance Your Online Presence
Discover the various image types perfect for web use to make your content visually appealing and optimized for online platforms.